No Coins Needed: Retro Arcade Game Project Update
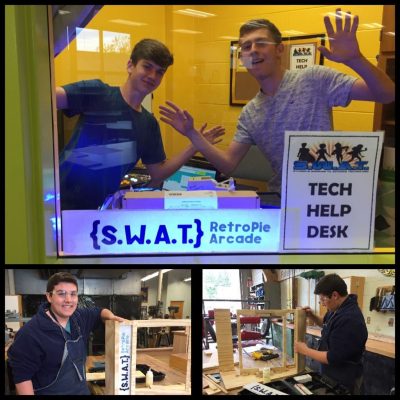
 A few weeks ago I shared the scoop about a few of my high school independent study Tech Club students—also known as the SWAT Team (Students Working to Advance Technology)—who are working on one totally awesome DIY project: Building and programming a tabletop retro arcade game—completely from scratch!
For the first two weeks of this ed-venture, they—Kermit, Corey and Bailey—worked on programming the Raspberry Pi (a credit card-sized computer), connecting it to the monitor, wiring the buttons, assembling the buttons and joysticks on the control panel and building the casing. You can read all about that here.
Since then, they have been busy completing other aspects of the project. Check out the progress we’ve been making on our ultimate tech-infused hands-on activity shown via the visual timeline embedded below…
OK, so I get that I’m kind of like bragging about them. Actually I do that a-lot! Mostly because each day I’m amazed at their hard work, dedication and perseverance to make this project come to life. And honestly… I’m just super proud of them—even though they totally kick my butt at every game they have installed on the console, including Ms. Pacman, my all-time fav. (Um, yeah… We have competitions!) ♥
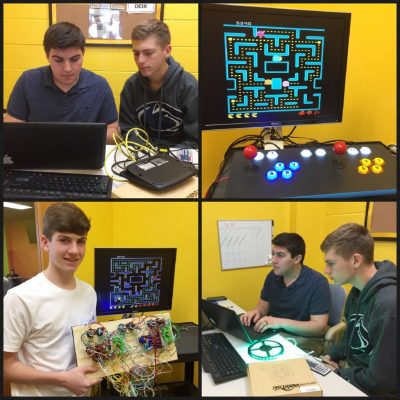
Here they are in action…
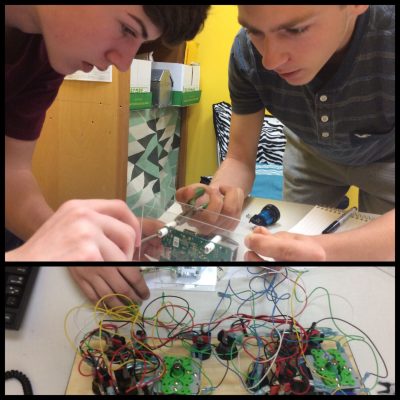
Tweaking the coding that operates the power button and wiring the lighting strip for the marquee.
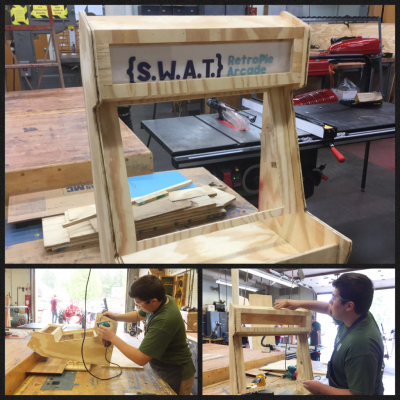
Using the Cricut to generate the vinyl logo for the marquee and assembling other parts of the wooden cabinet.
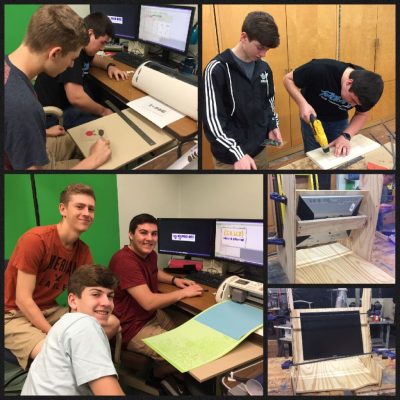
Additional work on the wooden cabinet…
Testing the lighting for the marquee and making sure it fits within the cabinet.
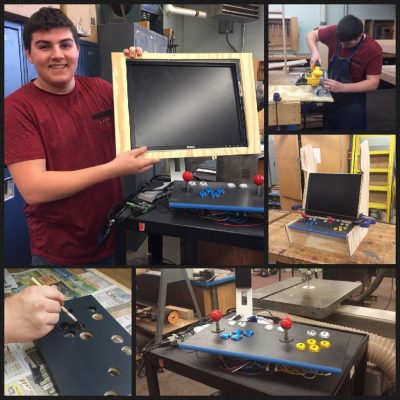
Prepping the wooden cabinet to be painted.
Continuing to prepare the electronic components for our arcade game.
Stay tuned for additional updates as we finalize our swanky project!